2. Stacks
Stacks — Creating & Managing Your Collections
A Stack is a collection of related cards — like a folder, notebook, or topic. This tutorial covers how to create, organize, and manage your stacks.
Creating a New Stack
From the Home Page
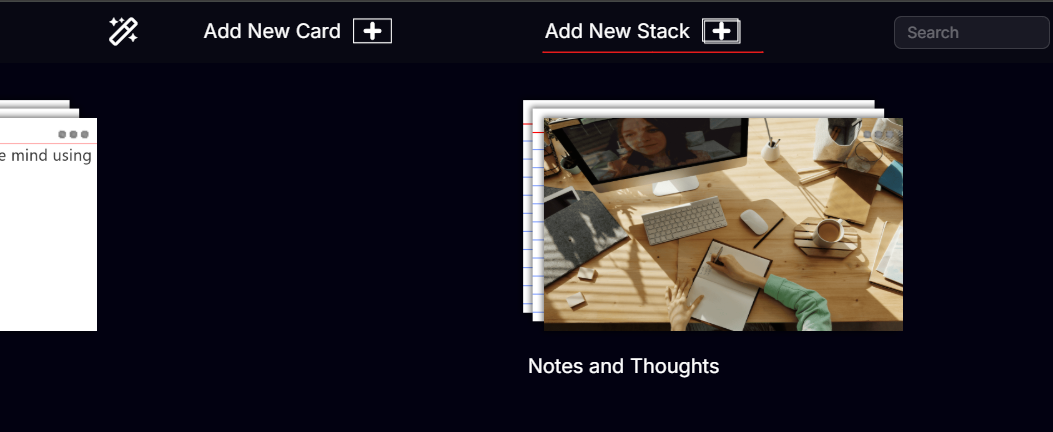
- Click Add New Stack [+] in the top bar.
- A new stack titled "New Stack" appears instantly in your home grid, showing a blank lined card as its thumbnail.
- Click directly on the stack name below the thumbnail to rename it.
- Click the thumbnail to open the stack and start adding cards.
> Tip: The thumbnail updates automatically when you add/edit your first card. You can also use the Stack menu to select a custom image.
Opening a Stack
Click anywhere on a stack's thumbnail to open it and view its cards. You'll enter the Cards View for that stack.
Renaming a Stack
Click the stack name text below its thumbnail on the Home page — it becomes an editable field. Type your new name and press Enter or click away to confirm.
The Stack Options Menu (...)
The Stack Menu is at the top-right of each Stack. Click it to open the stack menu.


| Option | What it does |
|---|---|
| Delete | Permanently delete the stack and all its cards |
| Duplicate | Create an exact copy of the stack |
| Archive | Move the stack to Archive (hidden from Home) |
| Choose Stack Thumbnail | Set a specific image as the stack's cover image |
| Generate AI Cover Image | Create an AI generated image for stack cover |
| Share to Web | Generate a public web link to share this stack |
| Move Stack Up / Down | Reorder the stack on the Home page |
| Update Card Rank Numbers | Refresh the ordering numbers of cards |
| Reset Study Scores for Stack | Clear all Study Mode progress for this stack |
| Export Stack as PDF | Export every card in the stack as a printable PDF |
| Copy as Text | Copy all card content as plain text |
| Move to Workspace | Move the stack to another workspace |
| Copy to Workspace | Duplicate the stack into another workspace |
Sharing a Stack
You can share all the cards inside a Stack easily by sharing your stack and creating the weblink to share.
To share a stack publicly via a web link:
- Hover over the stack on the Home page and click the Stack Menu ....
- Select Share to Web.
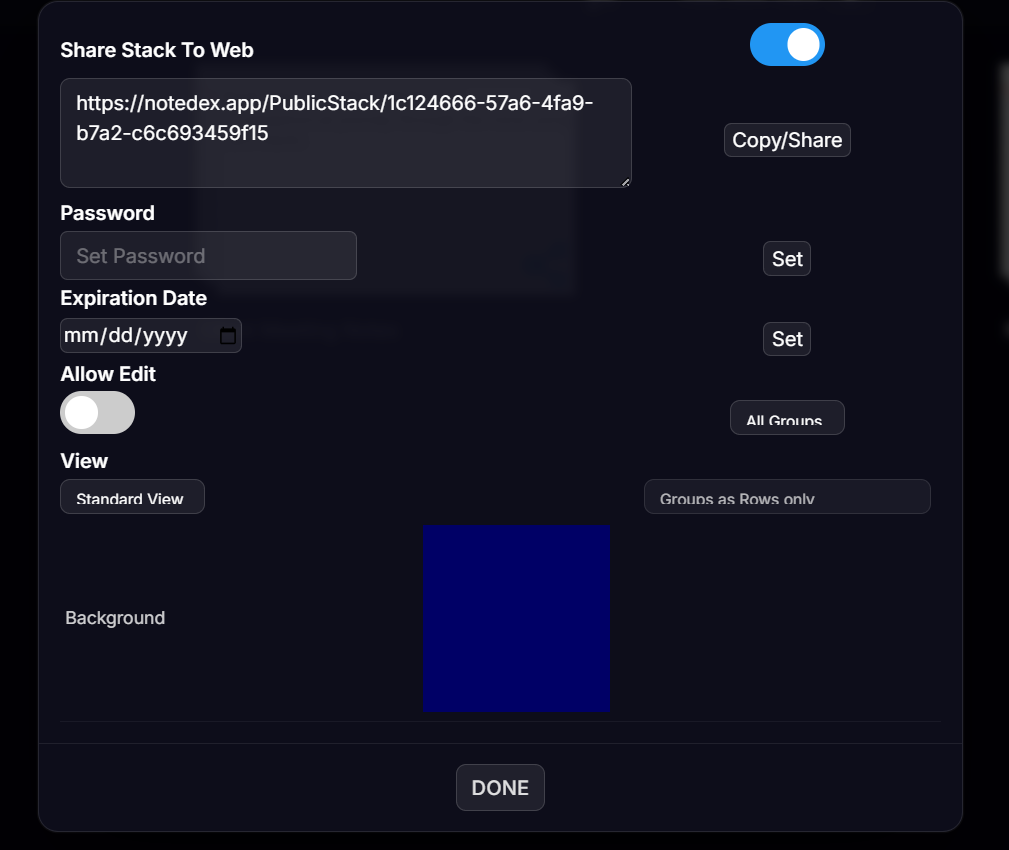
- A sharing dialog appears with the following options:
| Option | What it does |
|---|---|
| URL | The unique share link — copy and send to anyone |
| Password | Optional password protection for the shared stack |
| Expiration date | Set a date when the link will stop working |
| Groups | Choose which groups are visible to viewers |
| Allow editing | Let viewers edit cards without a NoteDex account |
| View | Choose Standard View or Organizer View for the shared layout |
| Background | Set the background style for the shared view |
At anytime when you want to stop sharing, just turn the toggle button off.
Exporting & Printing a Stack
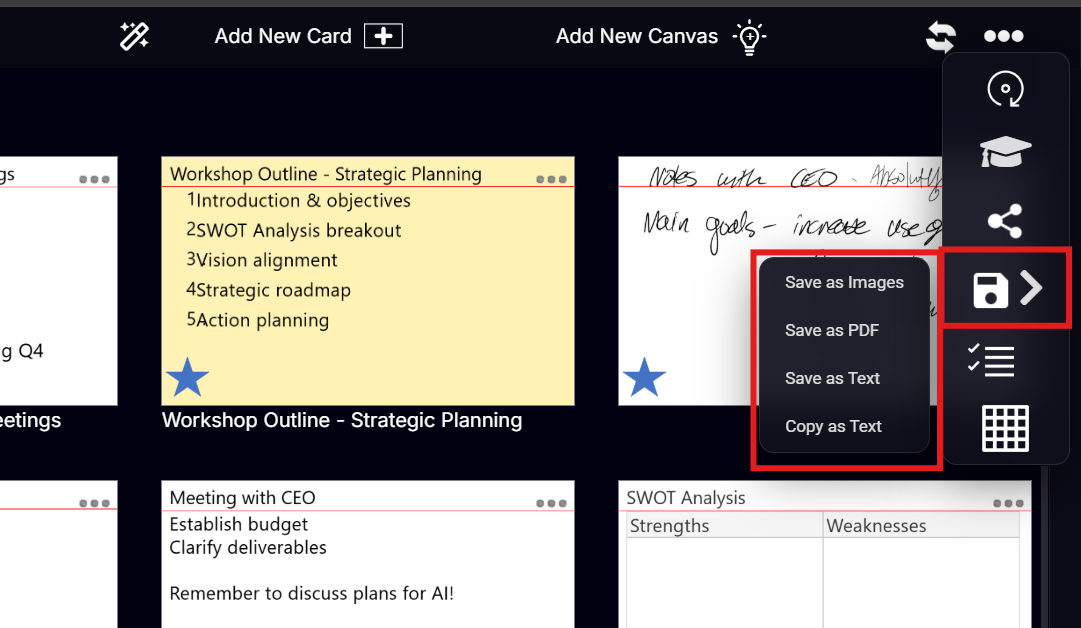
NoteDex offers several export formats — access them from the ... (more) button inside the Cards View (top-right), then click the Save / Export icon. You can:
- Save the stack cards as Images
- Save as a PDF
- Save as Text
- Copy as Text
Export as PDF
This is the most commonly requested feature and the recommended way to print cards.
When exporting as PDF you can choose from a number of formats including
| Option | What it does |
|---|---|
| Front only / Both sides | Print only the front, or front and back on alternating pages |
| Avery 5388 template | Format for Avery 5388 index card sheets (3 per page) |
| With borders | Add a border around each card |
| 2×2 / 3×3, and other layouts | Print multiple cards per page for compact reference sheets |
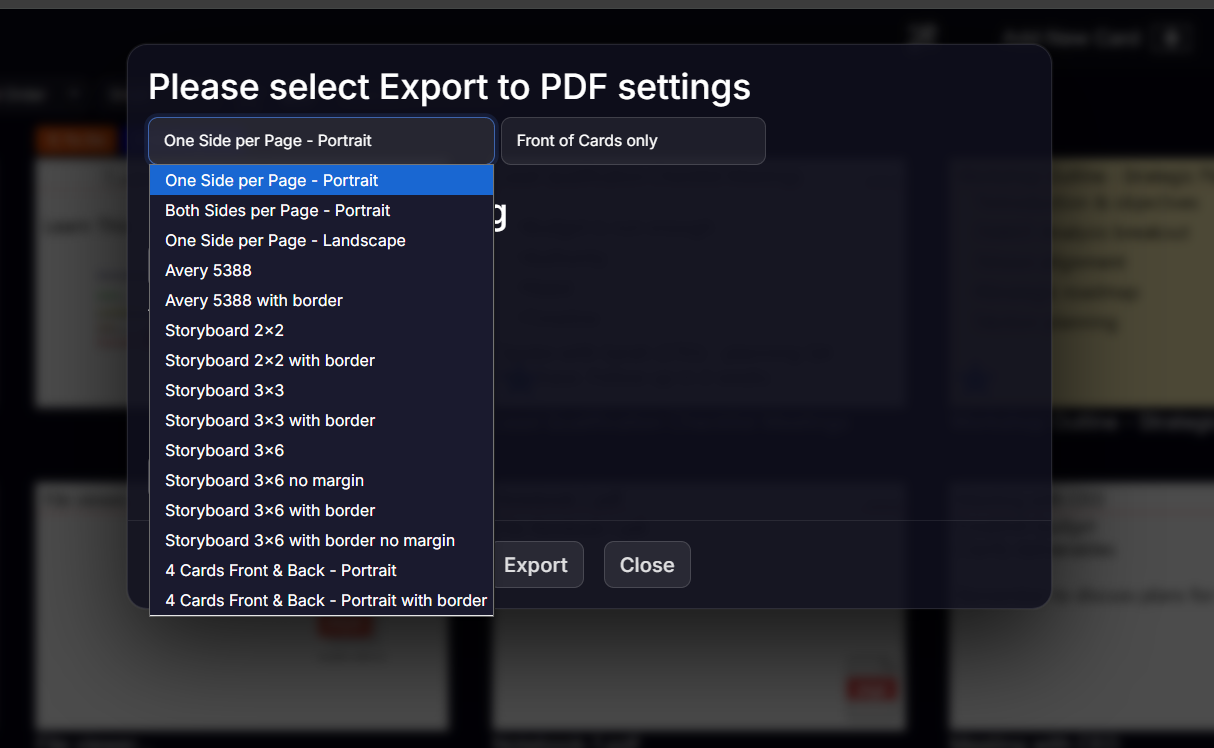
The PDF downloads to your browser's download folder — open it in any PDF viewer to print.
Export as ZIP of Images
Saves every card as an individual image file inside a ZIP archive — useful for importing cards into PowerPoint, Keynote, or other presentation tools.
Export as Text File
Saves the text content of all cards as a plain .txt file — quick way to extract the written content of a stack.
> Quick tip from the Home page: Click on stack menu → ... → Export Stack as PDF to jump straight to the PDF export without opening the stack first.
Archiving a Stack
Archiving removes a stack from your Home page without deleting it, ideal for old projects.
- To archive: open the stack ... menu → select Archive.
- To find archived stacks: click the Archive icon in the left sidebar.
- To restore an archived stack: open it from the Archive view and use its menu to unarchive.
Moving a Stack Between Workspaces
You can move or copy a stack to a different workspace:
- Open the stack ... menu.
- Choose Move to Workspace (removes from current workspace) or Copy to Workspace (keeps the original).
- Select the destination workspace from the list.
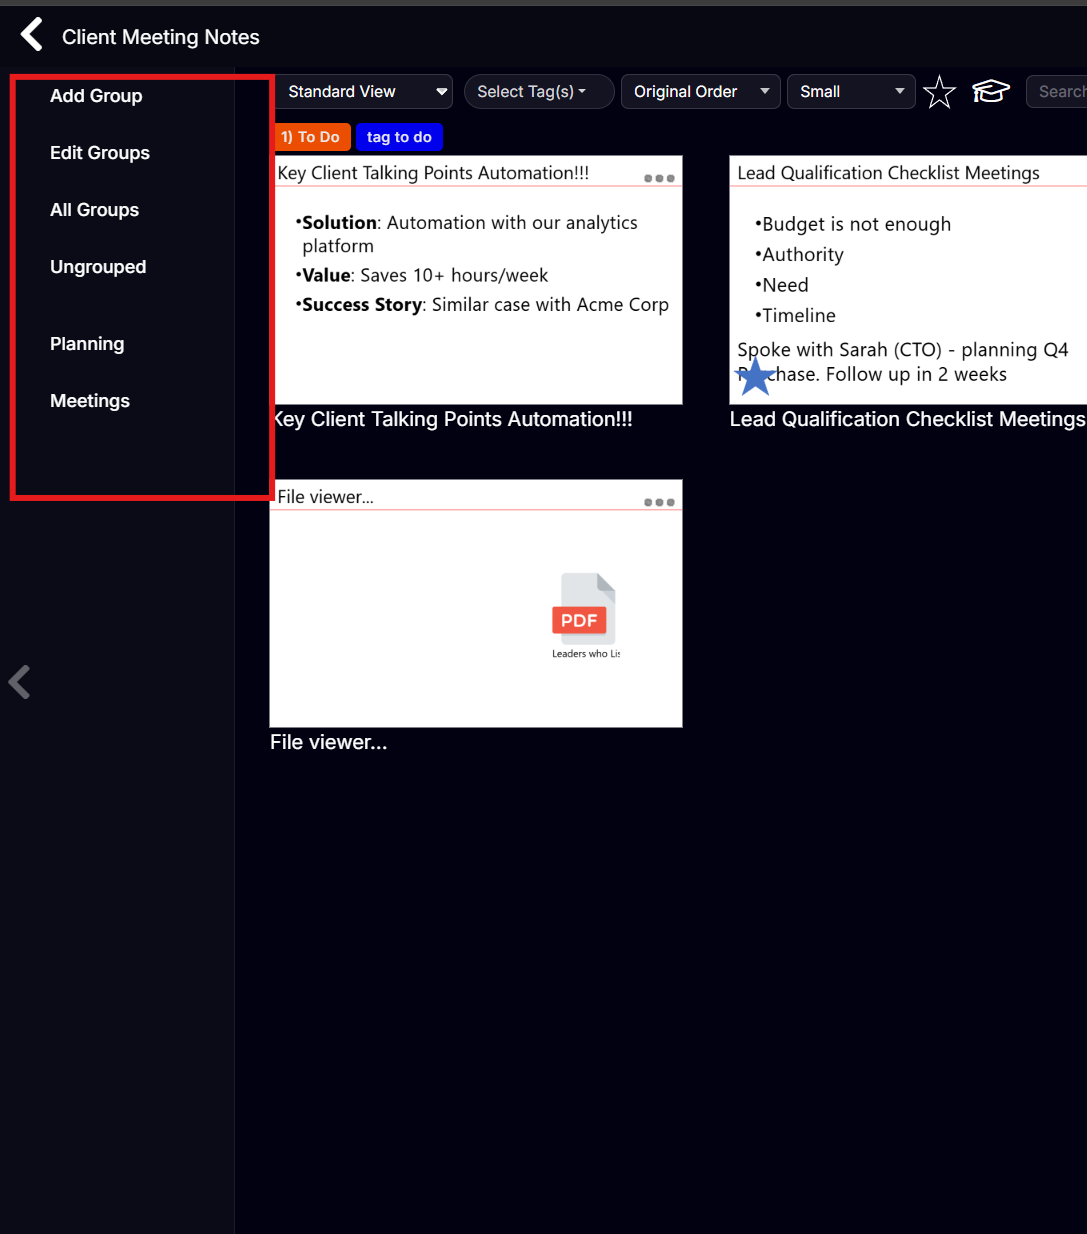
Organizing Cards Within a Stack — Groups
Once inside a stack, the Groups let you organize cards into named groups (like chapters or sub-folders inside a Stack).
| Option | What it does |
|---|---|
| Add Group | Create a new named group/section |
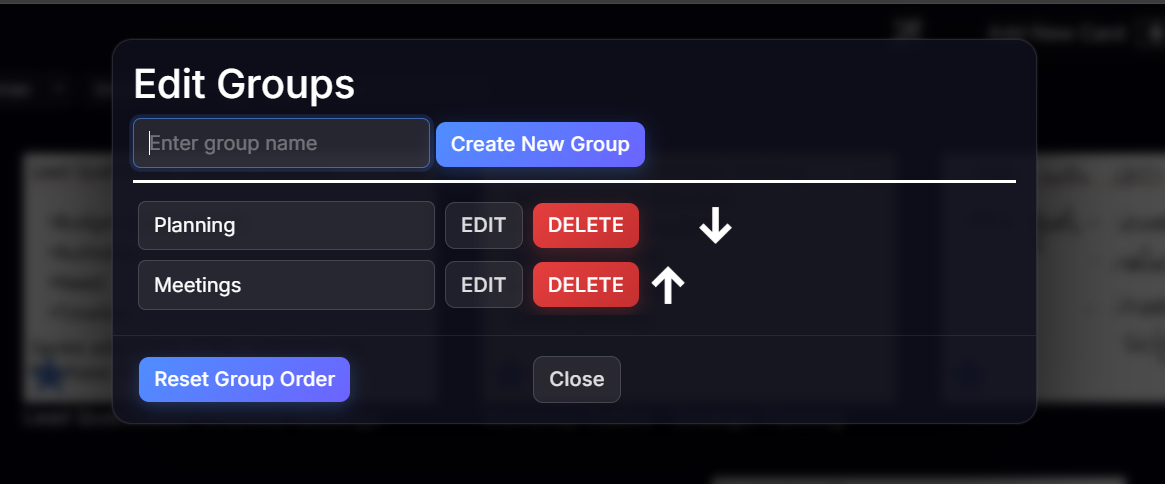
| Edit Groups | Rename, reorder, or delete groups |
| All Groups | Show all cards regardless of group |
| Ungrouped | Show only cards not assigned to any group |
You can create/delete Groups by the Add Group or Edit Group options.
Moving Cards into Groups
You can move a Card into a Group inside a Stack in the thumbnail view. Click the '...' menu on the top-right of a card thumbnail:
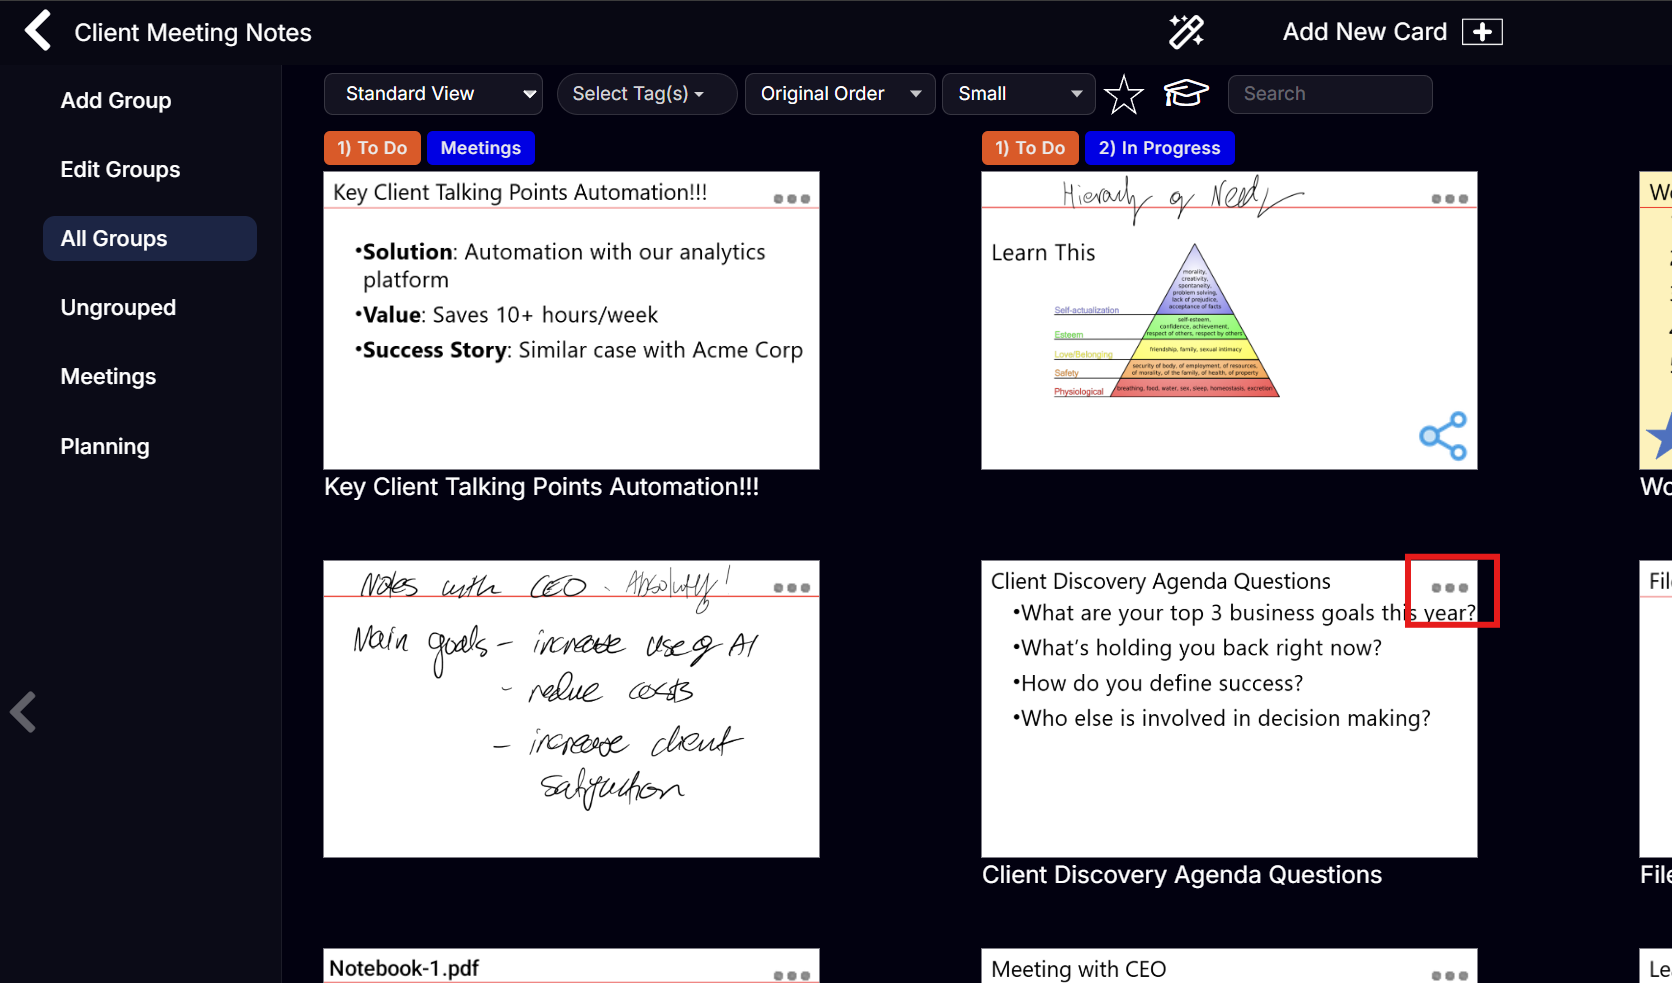

- A window will appear guiding you to Move To Group → then select the group from the list shown and the card will be automatically moved into that group.

-
Cards are shown with no group by default — use the Ungrouped view to quickly find unassigned cards
Reordering Groups
Drag a group name in the left panel up or down to change its order. Groups display in this order in both Standard View and Organizer View.
Moving a Card to a Different Stack
You can move a Card to another Stack either from this thumbnail view or when you are in a Card (see Cards tutorial). If you are in this thumbnail view of cards, click the '...' menu on the card thumbnail and select 'Move to Stack'.

You will then get a pop-up asking you which Stack to move to:

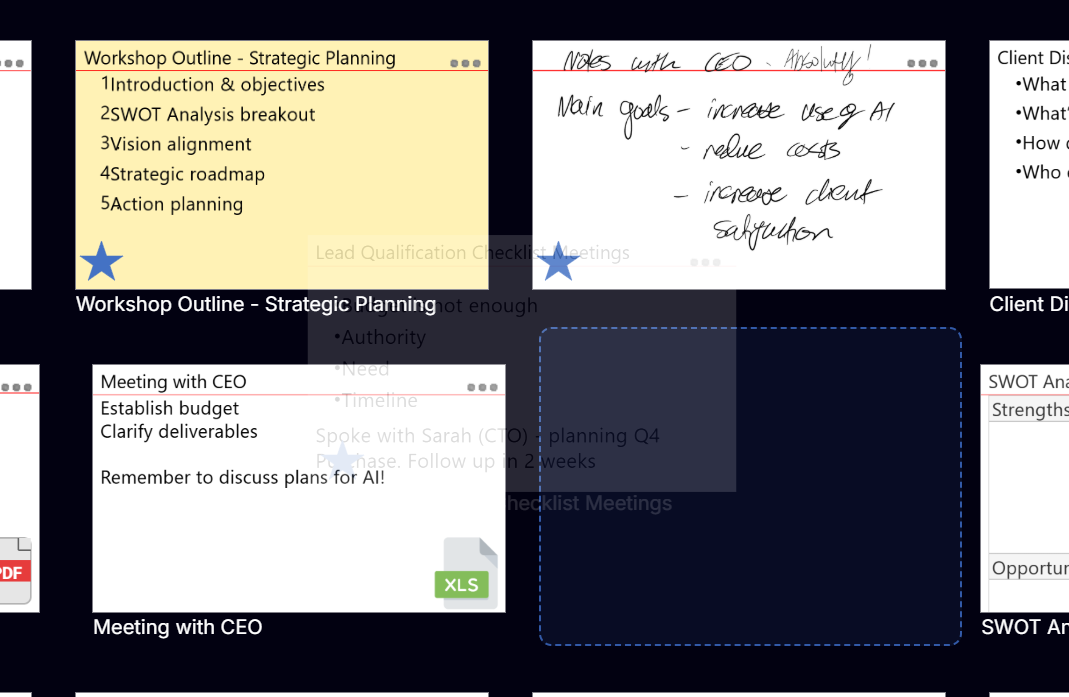
Reordering Cards in the Stack
Cards can be reordered directly in the Cards View:
- Drag and drop: Click and drag any card thumbnail to a new position. A card blank shows where the card will land.
- Menu: Click ... on a card thumbnail → Move Card Up or Move Card Down to shift it one position.
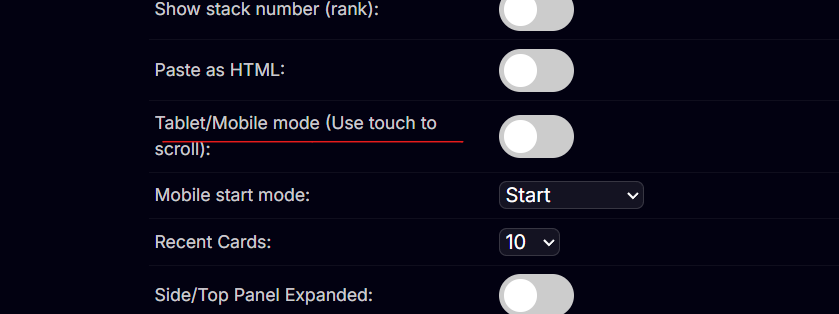
Note: This is when you move cards with your mouse normally in desktop view. You must have in settings the switch 'Tablet/Mobile Mode' turned OFF (for 'Mouse Mode'). This is on by default in the desktop app. If you are on a Windows Surface Device and you are finding that you are moving cards with your finger when you mean to scroll the app go into settings and set the app to 'Tablet/Mobile Mode' to ON (for Touch Mode).
Adjusting the Card View Size
In the Cards grid view, use the Size control in the filter bar to switch between Small, Medium, and Large thumbnail sizes — useful for quickly scanning content vs. seeing detail.

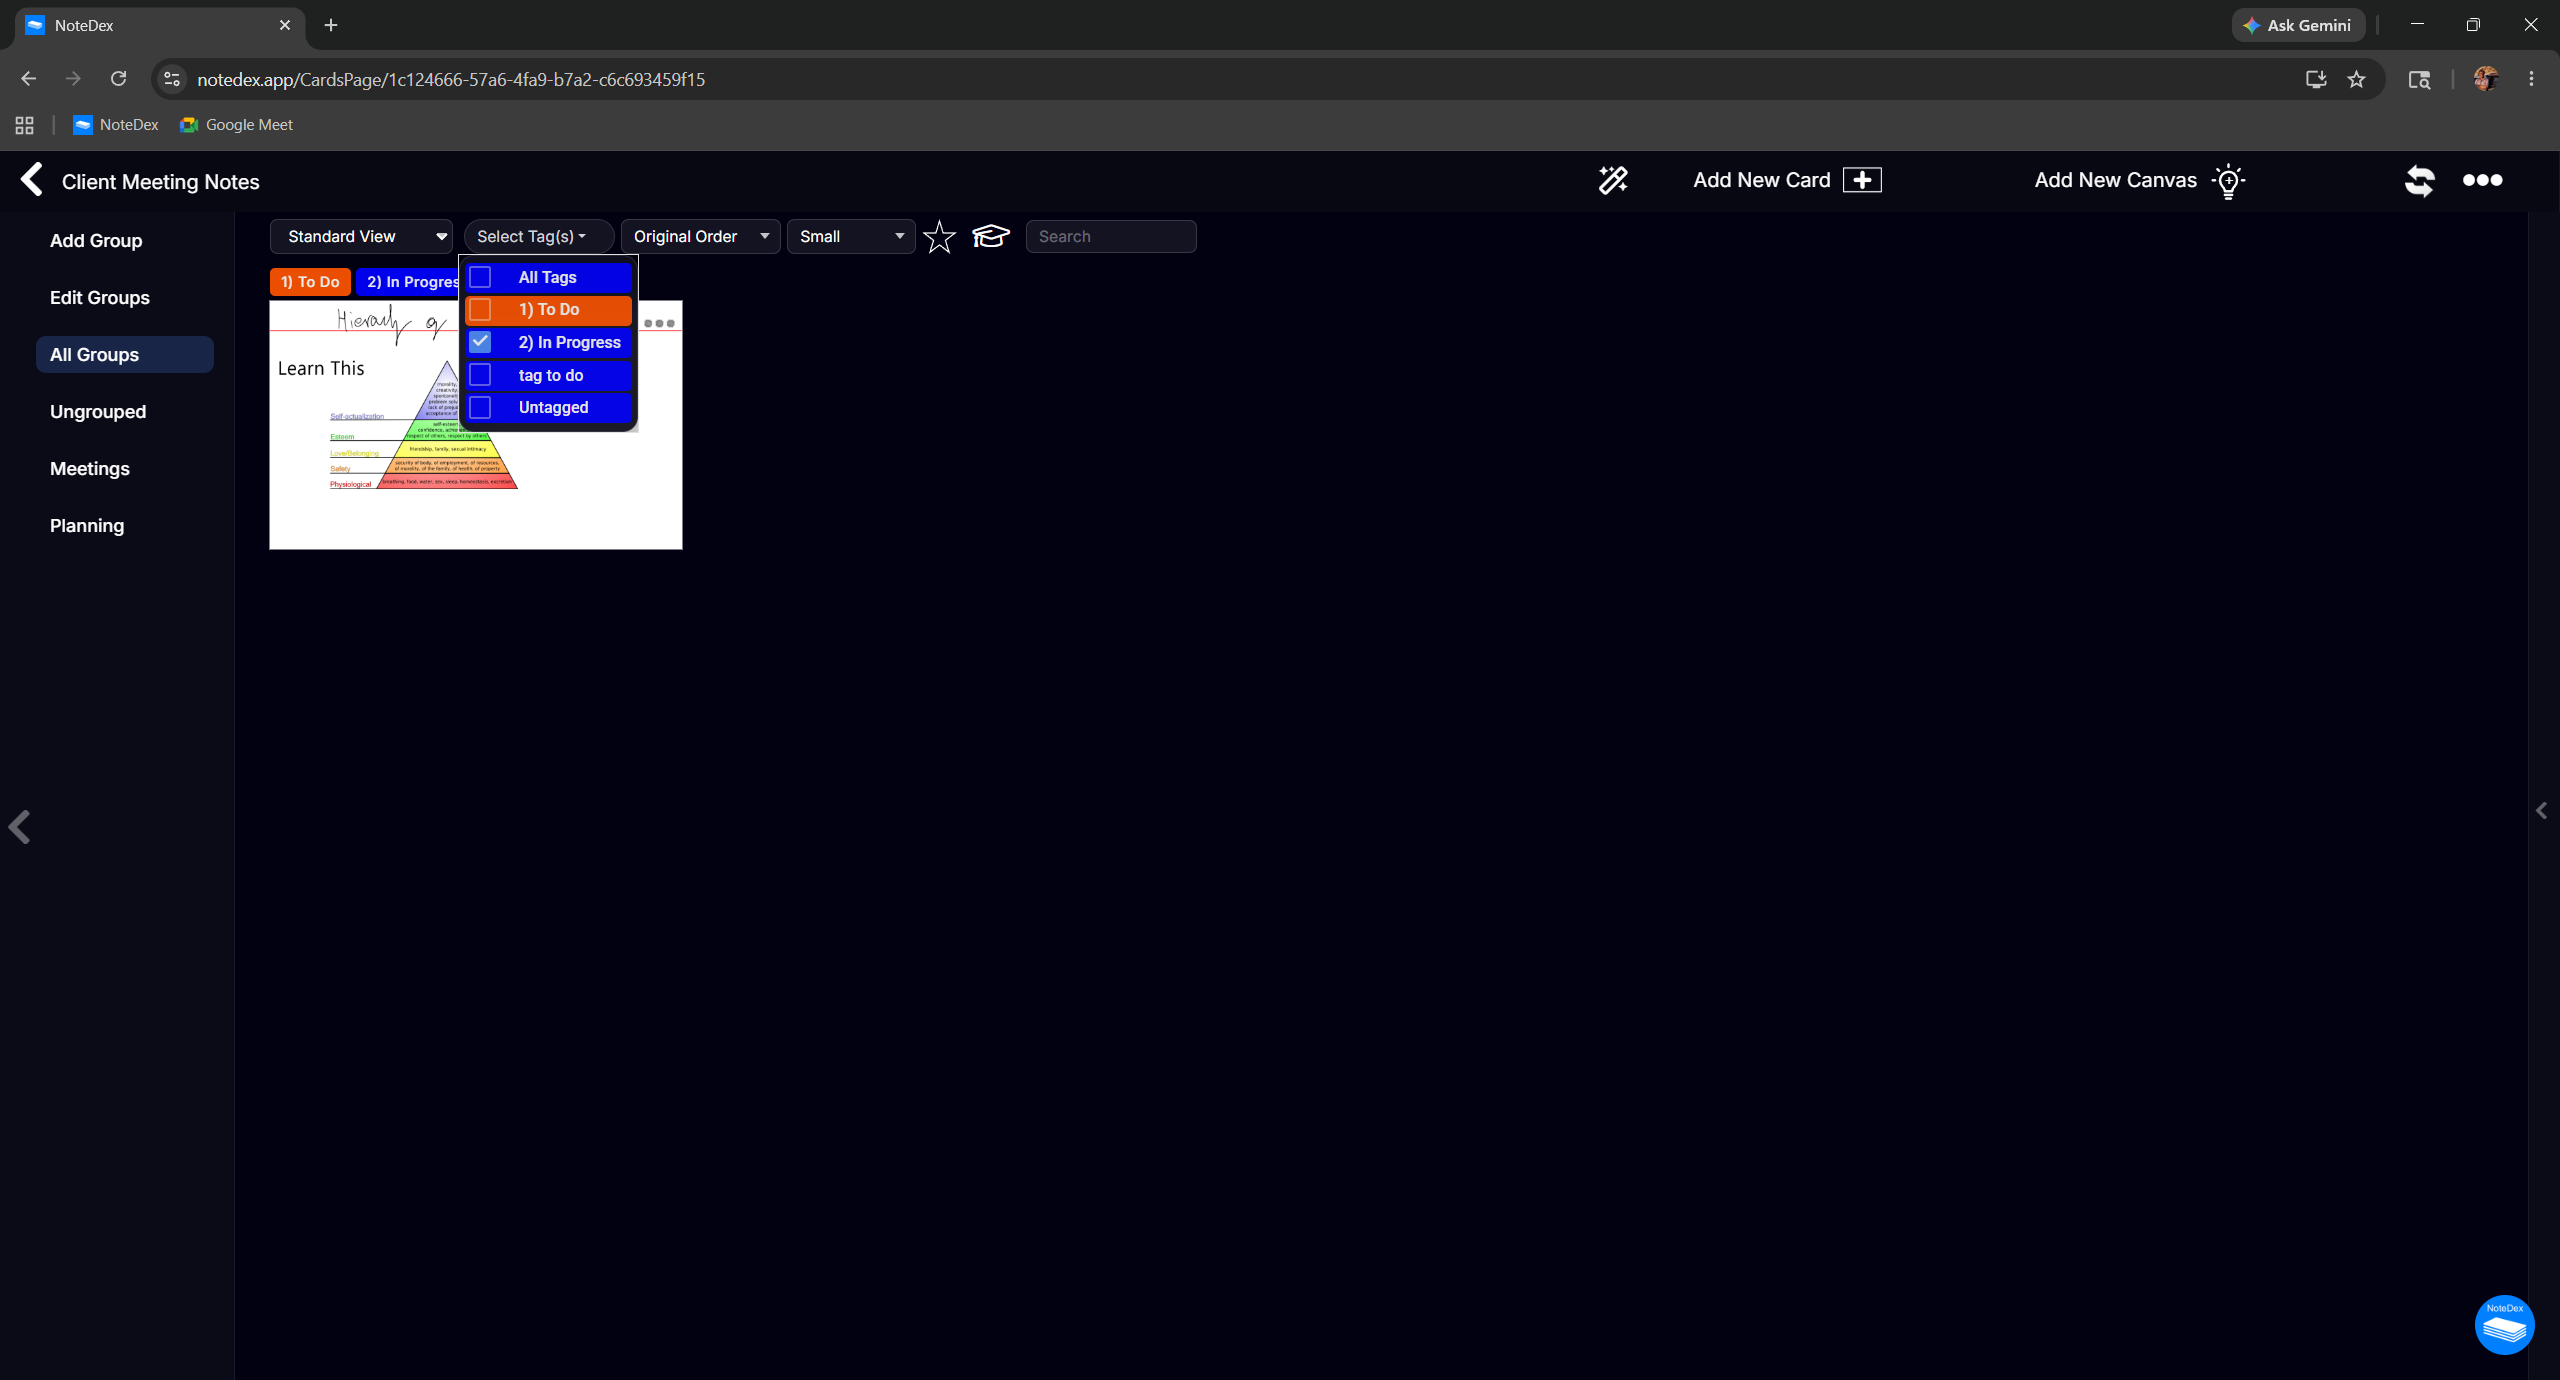
Filter on Tags in Card View
You can filter on tags using the 'Select Tags' dropdown. This is very handy, showing the value of Tagging your cards. Click 'All Tags' to reset the view.
Organizer View (Kanban, Storyboard & Column Layouts)
Switch to Organizer View from the View dropdown in the filter bar for powerful visual layouts — groups or tags as rows or columns, Kanban boards, storyboards, and more. Note Organizer View used to be called Power Grid.

Setting Stack Thumbnail Image / Create AI Generated Image
NoteDex is a very visual system, and many user like to add a picture to their stack. It helps to visualize whats in the Stack. There are 2 ways to do this from the Stack menu:

- Choose Stack Thumbnail - this will open up your file browser on your computer and you can pick an image you have. Best to have images that are landscape 5x3 format so there is not much distortion.
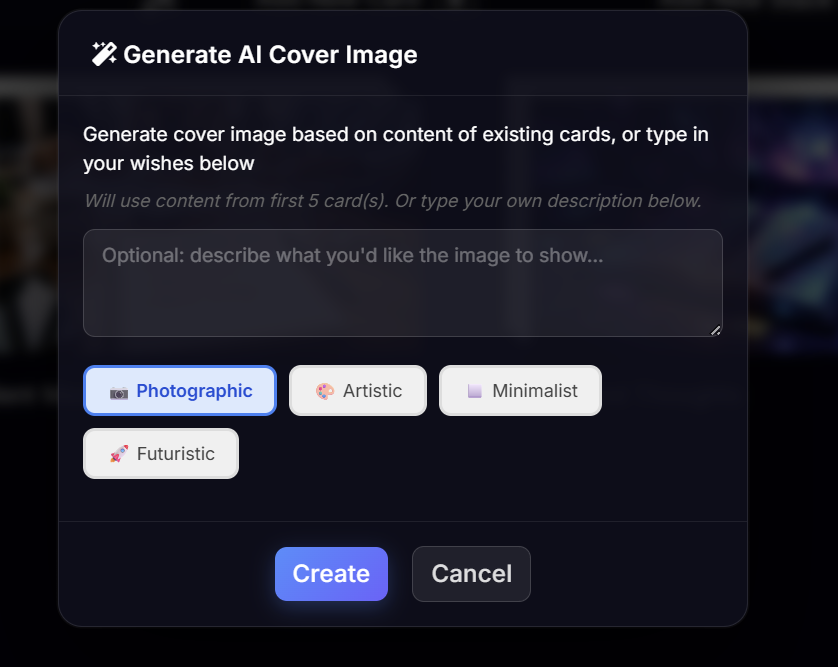
- Alternatively you can use the 'Generate AI Cover Image' option. This opens up a menu where you can guide what to create. You can simply let it use the existing text in the card in your stack to help give it context (it will use the first 5 card) or you can provide a custom prompt. You can also choose a style - Photographic, Artistic, Minimalist and Futuristic.
Here are some example Stack covers created by AI:
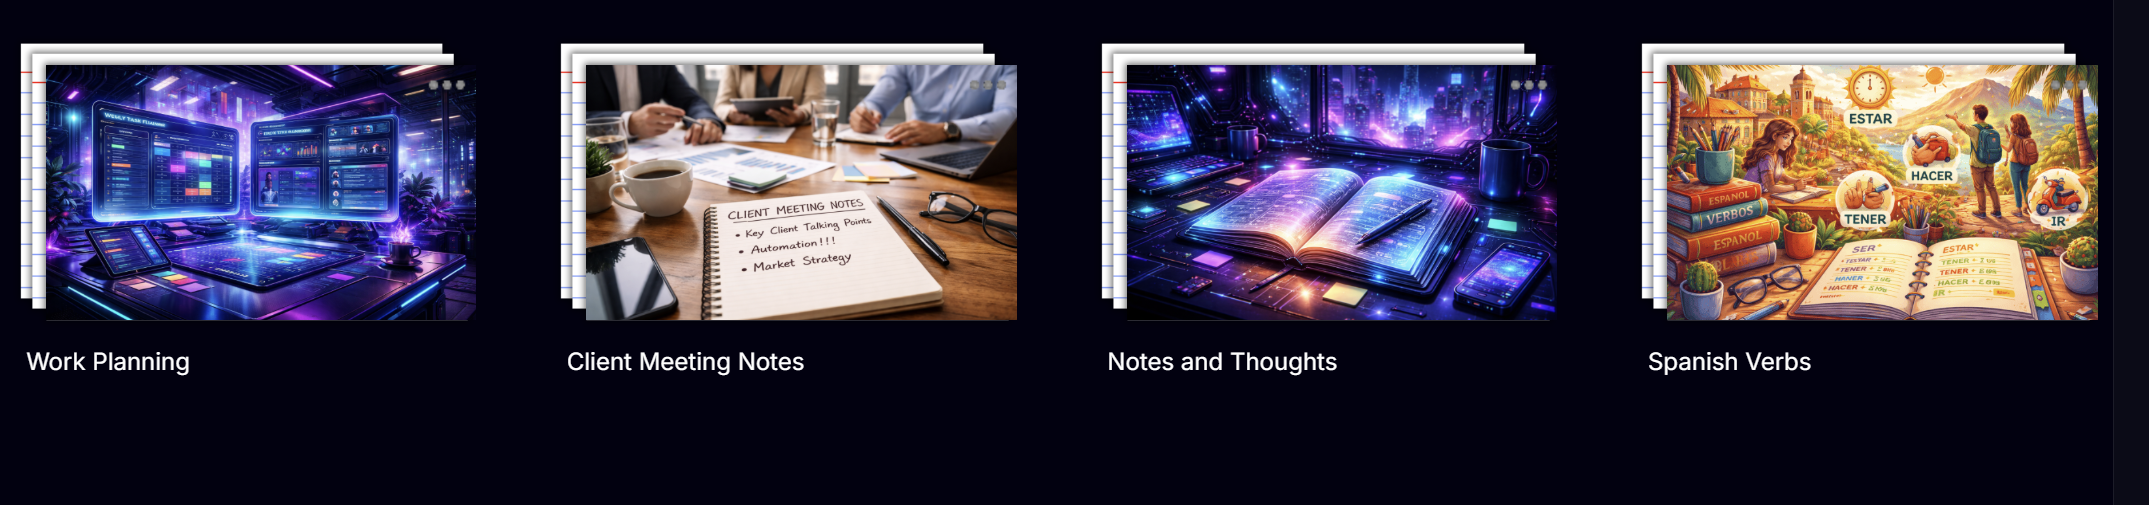
Have fun!